Setting Up a $60 VPN and Cloud Server -- Part 1
After making a comment online about relying more on open-source software, someone recommended Sovereign - a set of Ansible playbooks that installs a variety of open-source, security-focused software onto a server. Since I had been wanting to learn Ansible for work anyway, so this seemed like a perfect weekend project for me. As I dug into all the things Sovereign is able to set up, I thought, “Why not take this a step further and host all of this in my home instead of renting server space?” I had a spare Raspberry Pi collecting dust, and micro SD cards are dirt cheap, so there was no reason for me not to try! I purchased a domain, struggled through some networking issues, got my first SSL certificate from LetsEncrypt, and ended up with a surprisingly powerful mini-server sitting near my desk. Here’s how I set up my Raspberry Pi as a personal VPN, email, and cloud server.
Step 0: Getting the hardware
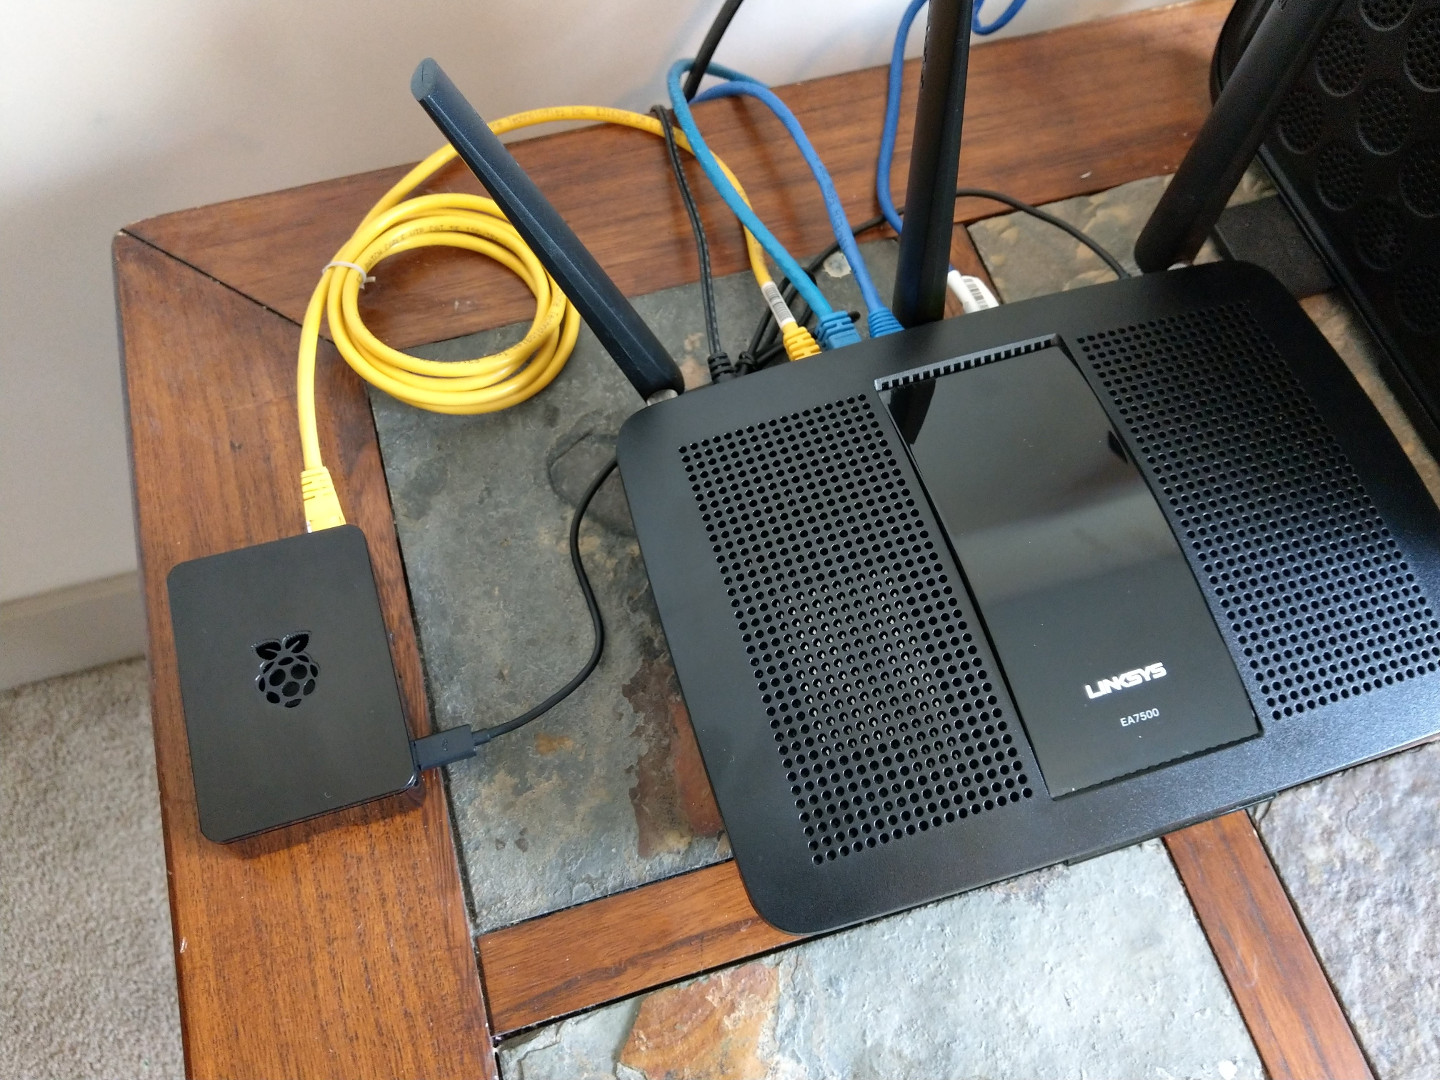
For this project, minimal hardware was needed. I already had a spare Raspberry Pi 3, but if you don’t have one they cost $35 from a few different retailers. I also had a 64GB micro SD card, so I used that as the Pi’s memory. You can buy a 32GB card for less than $15, or a 64GB card for around $22. I also had a small black case from a kit I bought a while back, but that’s not a necessity. All set up, my Pi server looked like this:
Step 1: Setting up the server
Install Raspbian Lite
Since your Pi will act as a simple headless server, there’s no need for all the bells and whistles that the full version of Raspbian comes with. Download the Lite version of the Foundation’s OS and install it on your SD card. On Linux and Mac you can use the dd utility. On Windows, I recommend Etcher.
Of course, there are more lightweight OSes to choose from – Arch Linux in particular comes to mind. However, Raspbian Lite offers a nice balance of lightweight and easy-setup, making it an attractive choice.
Set up Pi using raspi-config
Before anything else, the Pi needs to be configured to actually act as a server. By executing sudo raspi-config, we can change the following settings:
Change password– This is listed in the Sovereign readme, but it’s worth repeating. Raspberry Pi’s can and have been targeted by botnets, so please change the default password!Change hostname– Optional, but it might make your life easier if you have multiple Pis like I do.Enable SSH– This is how Ansible works and how you’ll make adjustments later on, so enable it now.Expand filesystem– This is usually done automatically the first time the Pi boots up, but there’s no harm in double checking it.Memory split– Also optional, but there’s no point reserving a full 64 MB for graphics on a headless server. Typically, 24 or even 16 MB will work just fine.
apt update && apt upgrade
Make sure all of the apt repositories are up-to-date and upgrade the software currently on the Pi.
SSH into the Pi to add your public key
Because Sovereign works over SSH, make sure you remember to copy your main computer’s public SSH key into the authorized_keys file in /home/pi/.ssh.
Install and activate fuse
Even though Sovereign does install fuse in the encfs task, it will cause a hiccup in the installation process as your Pi will need to be rebooted before the fuse module can be used. I found it’s much less hassle to just install it yourself before running Ansible:
sudo apt update
sudo apt install fuse libfuse-dev -y
sudo reboot
# Wait for your Pi to restart…
sudo modprobe fuse
Make IP static
This needs to be done so that the Pi doesn’t change IP addresses and render all of your DNS records useless in the future. You can read about how to do that here, but in short it requires setting your IP, netmask, and gateway in the /etc/network/interfaces file.
Step 2: Setting up the domain and network
Set up domain and DNS records
Here’s the hardest part of the whole process – thinking of a website name! Once you figure out what you want the web address of your server to be, register that domain with a registrar. I went with Namecheap because it’s simple and allows you to change DNS records easily. Once your domain is registered, you’ll have to make sure DNS servers actually connect your domain to your server. This is done by creating A and AAAA records, which tie your domain to the IPv4 and IPv6 address of your server, respectively.
Setup port-forwarding on router
If you want to be able to reach your server from outside your home network, you have to set your router to forward the relevant ports to your Pi. Generally, these are the ports you need to worry about:
80– the standard HTTP port443– the standard HTTPS port22– the default SSH port25– port used by SMTP993– port used by IMAP995– port used by POP3
The details depend on what brand of router you have, but in general you’ll have to login to 192.168.0.1 or 192.168.1.1 as an administrator and set each of those ports to forward to your Pi’s IP address. It may also be a good idea to change the port used for SSH from the default 22 to something else of your choosing. This prevents would-be attackers from flooding port 22 with login attempts and possibly taking over your machine.
Part 3: Install everything to the server
Set up Sovereign installation
First, we need to install Ansible on the main desktop/laptop being used. For most Linux distros, Ansible can be installed through the default package manager (Apt, pacman, Yum, et cetera). It can also be installed directly through pip:
sudo pip install ansibleYou’ll also have to install one other pip module used by Sovereign:
sudo pip install passlibNext, clone Sovereign from my GitHub repo, where I’ve made some changes so it’ll work with Raspbian. Before running it, read through the various roles files to get a feel for what all is going to be installed on your server. Before running, double check the site.yml and roles/common/tasks/main.yml files to ensure you want all of the tasks listed to run. Personally, I disabled the tarsnap role since the card is small enough that I can make backups to my desktop.
Next you must fill in the variables in the group_vars/Sovereign file. These variables set the domain, username, email addresses, and some passwords used by Ansible during the setup of everything. It’s worth double checking all of this so no typos or missed variables cause an issue in the installation.
Next, the Ansible config file needs to be changed so allow_world_readable_tmpfiles is set to ‘True’. This is because Sovereign will change users to create tmp files used by Postgres and a couple of other programs. This will trigger an error if both the main computer user and the user Ansible SSH’es into are non-root. This setting is found in /etc/ansible/ansible.cfg, near the bottom of the defaults section. Just remember – these files need to be deleted once setup is done so nobody can see what was in them later on.
Run Sovereign from desktop
Finally, we come to the meat of the process. I followed the steps in the Sovereign README file (aside from the changes listed above). Sovereign takes a very long time to run – my Pi 3 took just short of 2 hours to run through all of the tasks except for tarsnap.
Occasionally, I’ve seen Ansible stop early and throw an error during one of the handler taks. In my experience this is usually due to a missing log file and simply re-running the Sovereign playbook is enough to fix the issue.
What’s next?
Now that all of these incredible programs are installed and running on your personal server, you just need to set them up for use! In part 2, I’ll walk you through setting up OpenVPN, OwnCloud, RoundCube mail, SelfOSS, and Wallabag.